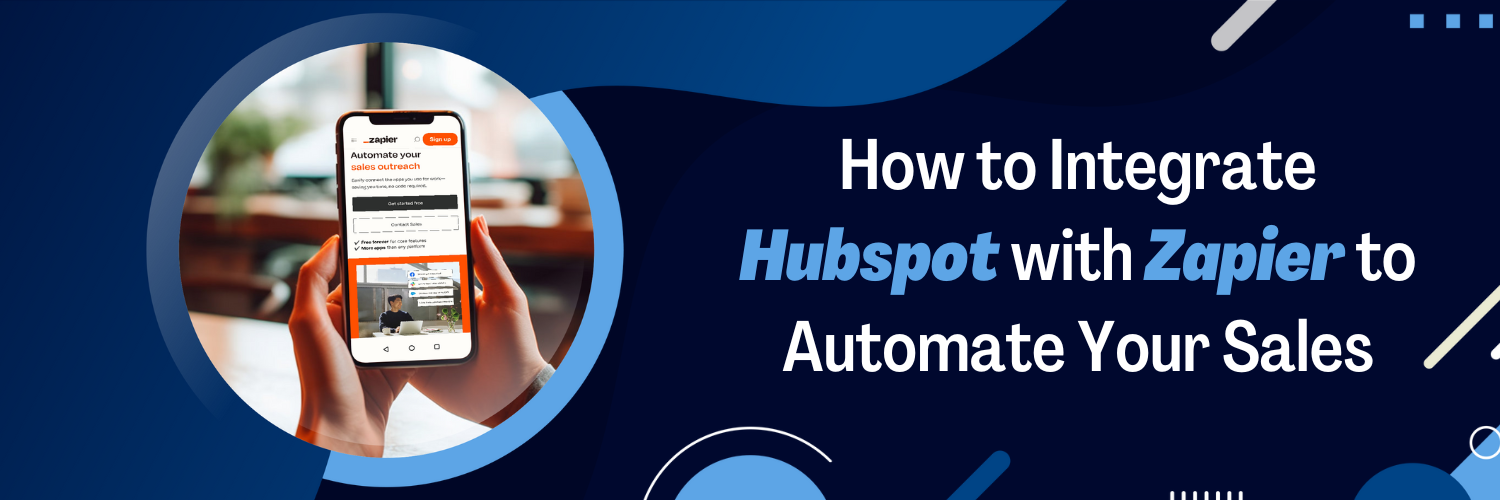
HubSpot and Zapier
In this guide, we will discuss the integration of HubSpot and Zapier, two powerful platforms that can help you streamline your marketing and sales processes. HubSpot is a popular customer relationship management (CRM) and marketing platform, while Zapier is a renowned automation tool that connects various apps to simplify your workflows. By integrating HubSpot with Zapier, you can automate tasks, enhance lead nurturing, and efficiently manage your sales and marketing efforts.
What is Zapier?

Zapier is a web-based tool that allows you to automate workflows by integrating different applications and services without requiring any programming experience. It acts as a bridge between different apps, allowing them to communicate and automate tasks. By integrating Zapier with Hubspot, you can streamline your sales process by automating tasks such as sending follow-up emails, updating contact information, and creating new deals. For instance, you can create a Zap that automatically sends a follow-up email to a new lead in Hubspot, saving you time and effort.
Setting Up Your HubSpot Account

Before you can integrate HubSpot with Zapier, you’ll need to set up a HubSpot account. To sign up, visit the HubSpot website or follow the registration process below.
Sign Up for a HubSpot Account
To set up a HubSpot account, follow these steps:
- Visit the HubSpot website at www.hubspot.com.
- Click on the “Get Started” or “Get Started Free” button, depending on your desired plan.
- Fill out the registration form with your name, email address, company name, and website.
- You will be prompted to create a password for your account. Make sure to choose a strong, unique password.
- Complete the onboarding process by answering a few questions about your company, your role, and your goals.
- Verify your email address by clicking on the link sent to your inbox.
- Once you have successfully signed up, you will be granted access to your HubSpot dashboard, where you can explore and customize the available tools.
Once you have an account, familiarize yourself with HubSpot’s CRM and marketing tools, such as lead management, email marketing, and analytics. These tools will help you better understand your audience and optimize your marketing strategies.
Understanding HubSpot’s CRM and Marketing Tools

HubSpot offers a wide range of CRM and marketing tools that can help you manage and grow your business. Some key features include:
- Contact and lead management: Organize and track your contacts, leads, and customers in one centralized platform. Use custom properties and filters to segment your audience for targeted marketing campaigns.
- Email marketing: Design and send personalized email campaigns, newsletters, and promotions. Use A/B testing and analytics to optimize your email performance and improve open and click-through rates.
- Landing pages and forms: Create responsive, conversion-optimized landing pages and forms to capture lead information. Use HubSpot’s templates or build your own with the drag-and-drop editor.
- Marketing automation: Set up automated workflows to nurture leads, follow up on form submissions, and trigger actions based on specific criteria. This helps save time and ensures consistent communication with your audience.
- Analytics and reporting: Access detailed reports and analytics to track your marketing performance, website traffic, and user behavior. Use this data to refine your strategies and make informed decisions.
Setting Up Your Zapier Account

Sign Up for a Zapier Account
To sign up for a Zapier account, follow these steps:
- Visit the Zapier website at www.zapier.com.
- Click on the “Get Started Free” button to access the registration page.
- Enter your name, work email, and password for your account. Alternatively, you can sign up with your Google or Microsoft account.
- Click “Get Started” to create your account and begin the onboarding process.
- You may be prompted to select some apps you use frequently to receive personalized suggestions for Zaps.
- After signing up, you can start exploring Zapier’s features and connecting your preferred apps.
Exploring Zapier’s Automation Capabilities
Zapier offers a wide range of automation capabilities to help you streamline your workflows and improve efficiency. Some key features include:
- Triggers: A trigger is an event that starts a Zap. Triggers can be actions in one app, such as receiving a new email, adding a new contact, or updating a task.
- Actions: An action is a task that Zapier performs in another app in response to a trigger. Actions can include creating a new contact, sending an email, or adding a task to a project management tool.
- Multi-step Zaps: You can create Zaps with multiple steps to automate more complex workflows. For example, you can set up a Zap that triggers when a form is submitted, then creates a new contact in your CRM, sends a personalized email, and adds a task for follow-up.
- Filters: Filters allow you to set specific criteria for your Zaps. For instance, you can choose to run a Zap
Connecting HubSpot to Zapier

Authorizing Zapier to access your HubSpot account
To connect HubSpot to Zapier, log in to your Zapier account and navigate to the app directory. Search for “HubSpot” and click “Connect.” You’ll be prompted to enter your HubSpot account credentials to grant Zapier access. After authorization, you’ll be able to create Zaps involving HubSpot.
Configuring the connection between HubSpot and Zapier
Once HubSpot is connected to Zapier, ensure the integration is configured correctly by testing the connection. This involves setting up a sample Zap with HubSpot.
Creating Zaps for HubSpot

Creating a Zap is simple. First, choose a trigger event in HubSpot, such as a new contact or a form submission. Next, select an action to be performed in another app (or HubSpot itself) when the trigger event occurs. You can customize your Zap with filters, delays, and other settings to ensure it performs exactly as desired.
To create a Zap, follow these steps:
- Log in to your Zapier account and click “Make a Zap.”
- Choose a trigger app (e.g., HubSpot) and select the specific trigger event, such as a new contact or form submission.
- Connect your HubSpot account and set up the trigger by providing the necessary details.
- Choose an action app (e.g., Google Sheets, Trello, or HubSpot itself) and select the specific action to be performed when the trigger event occurs.
- Connect the action app account and set up the action by providing the required information.
- Test the Zap to ensure it’s working as expected, and then click “Turn on Zap” to activate it.
Choosing triggers and actions for HubSpot
When creating Zaps for HubSpot, you can choose from various triggers and actions depending on your needs. Common triggers include new contacts, form submissions, and deal updates. Popular actions involve creating or updating contacts, sending emails, and updating deals. Explore different combinations of triggers and actions to identify the most effective workflows for your business.
Customizing your Zap with filters, delays, and more
To further refine your Zaps, you can add filters, delays, and other settings. Filters allow you to set specific conditions that must be met for the Zap to run, while delays enable you to pause the workflow for a specified duration. Additionally, you can use multi-step Zaps to automate more complex workflows involving multiple apps and actions.
Popular HubSpot Zaps and Integrations

Some popular HubSpot Zaps and integrations include automating lead nurturing with email sequences, syncing contacts between HubSpot and other platforms, and streamlining your social media posting. These Zaps can help you save time, reduce manual data entry, and ensure consistency in your marketing efforts.
Automating lead nurturing with email sequences
Create Zaps that automatically add new contacts to email sequences or update existing contacts with relevant tags based on their interactions with your content. This ensures consistent communication and personalized nurturing, improving your chances of converting leads into customers.
Syncing contacts between HubSpot and other platforms
Set up Zaps to sync contacts between HubSpot and other platforms, such as Google Contacts, Mailchimp, or Salesforce. This helps maintain up-to-date contact information across all your tools, reducing manual data entry and avoiding data discrepancies.
Streamlining your social media posting
Automate your social media posting by creating Zaps that publish content from HubSpot’s social media tool to various social networks, such as Facebook, Twitter, and LinkedIn. This saves time and ensures a consistent social media presence for your brand.
Monitoring and Managing Your Zaps

Keep track of your Zaps’ performance by monitoring their activity and checking for any errors. You can edit and update your Zaps at any time to make improvements or fix issues. If you encounter problems, refer to Zapier’s troubleshooting resources or contact their support team for assistance.
Tracking Zap performance
Monitor your Zaps’ performance by reviewing the activity logs and checking for any errors or issues. This helps you identify potential problems early on and maintain optimal automation efficiency.
Editing and updating your Zaps
You can edit and update your Zaps at any time to improve their performance or fix issues. To make changes, log in to your Zapier account, navigate to the Zaps tab, and click on the specific Zap you want to edit.
Troubleshooting common issues
If you encounter issues with your Zaps, refer to Zapier’s troubleshooting resources, such as their help documentation and community forums. For more complex problems or urgent assistance, contact the Zapier support team.
Conclusion
Integrating HubSpot with Zapier can significantly streamline your marketing and sales workflows, allowing you to focus on strategy and growth. By following this step-by-step guide, you can easily connect your HubSpot account to Zapier, create custom Zaps, and optimize your business processes.
If you’re looking to enhance your marketing and sales efforts, consider partnering with Ubique Digital Solutions. Our team of experts can help you seamlessly integrate HubSpot and Zapier, as well as optimize your overall digital strategy. Don’t miss out on the opportunity to boost your business to success – get in touch with Ubique Digital Solutions today and let us transform your digital presence.
FAQs
Q: How much does it cost to integrate HubSpot with Zapier?
The cost of integrating HubSpot with Zapier depends on the pricing plans of both platforms. HubSpot offers free and paid plans, while Zapier provides a range of plans based on the number of tasks and Zaps you require.
Q: Can I integrate HubSpot with other apps using Zapier?
Yes, Zapier supports integration with thousands of apps, enabling you to connect HubSpot with various platforms like Slack, Trello, Google Sheets, and more.