
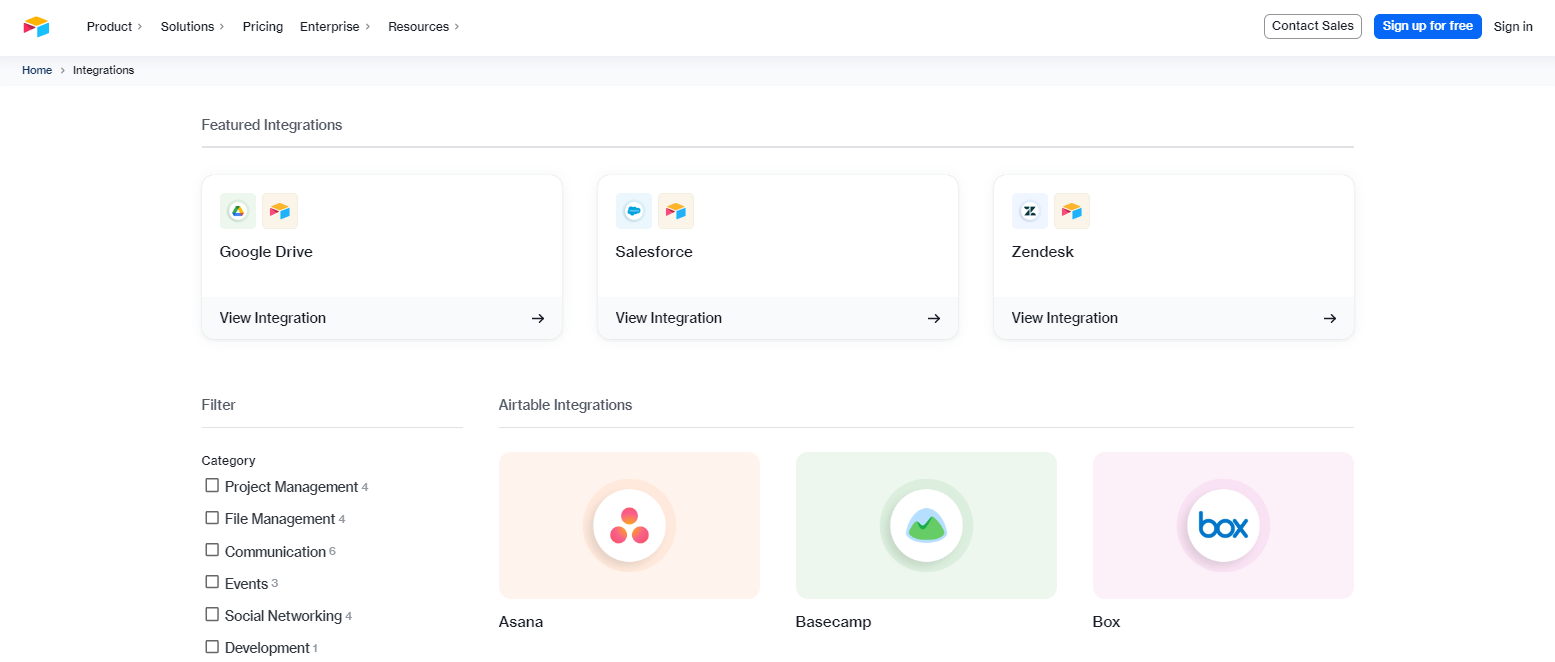
Integrating Airtable with MailChimp

A flexible cloud-based collaboration tool called Airtable combines the features of a database and spreadsheet. It enables real-time collaboration, project tracking, and database creation for users. Because of its friendly user interface and support for a variety of data formats, Airtable is popular with both individuals and teams for a variety of uses.
In contrast, Mailchimp is a well-known email marketing platform that supports the creation, distribution, and management of email campaigns for businesses. It offers capabilities including campaign automations, audience management, and thorough analytics. For businesses of all sizes to effectively communicate with their audience, Mailchimp is a favored option thanks to its user-friendly interface and large template library.
For effective data management and optimized email marketing campaigns, integrating Mailchimp and Airtable offers a number of advantages:
- Centralized Data: You may centralize your data management by combining Airtable with Mailchimp. As a result, you can use Airtable to store, organize, and sync your contacts, leads, customer information, and campaign data. By doing so, you may avoid manually entering data and guarantee the accuracy of your email lists.
- Enhanced Targeting: You can add custom fields and classify your contacts according to particular criteria thanks to Airtable’s flexibility. You may use this comprehensive data to better segment your audience by integrating with Mailchimp. This makes it possible for you to conduct customized and targeted email campaigns, which increase engagement and conversions.
- Efficiency and Automation: With the integration in place, you can automate a number of processes. For instance, you can set up triggers in Airtable to automatically update subscriber information or add new subscribers to particular Mailchimp lists. This shortens the processing time, reduces human error, and guarantees smooth data synchronization between the two systems.
- Analytics and Reporting: By combining the data from Airtable with Mailchimp’s extensive reporting tools, you may learn more about the effectiveness of your email marketing. To evaluate the success of your campaigns and make informed decisions, consider other statistics from Airtable along with open rates, click-through rates, and other metrics.
Setting Up Airtable Integration
The first step to effortlessly integrate Airtable with other programs, like Mailchimp, is to set up the Airtable integration. We will walk you through the process of setting up Airtable in this section to create a strong framework for data management and synchronization. You will discover how to set up an Airtable account, a workspace, a base, and the essential base fields. By following these procedures, you may efficiently manage and arrange your data so that it is prepared for integration with other platforms. Let’s begin the Airtable setup procedure.
Create an Airtable account
Create an Airtable account by following these steps:
- Click the “Get started for free” or “Sign up” option when you go to the Airtable website (https://airtable.com).
- Enter your email address or one of the other accessible methods, like Google or Apple, to register.
- Make sure your account has a secure password, then finish the signup procedure.
Set up a workspace and base in Airtable
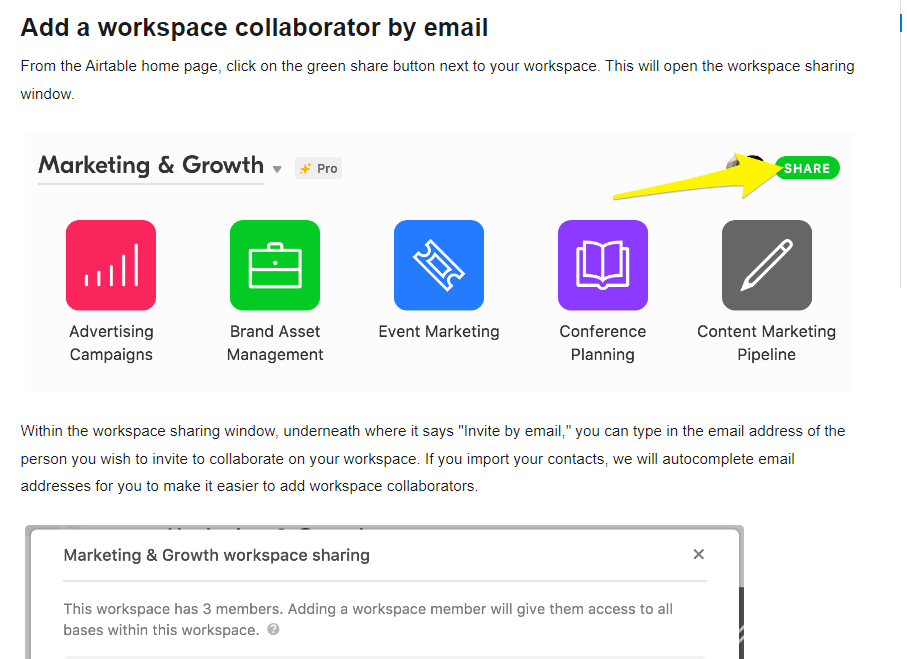
You must set up a workspace and a base to organize your data after you have an Airtable account:
- After logging in, select an existing workspace or create a new one by clicking the “+” icon.
- To begin creating your database, select the “Create a base” button inside the workspace.
- Select from pre-made templates or start with a clean slate.
- Give your base a name that reflects the main goal or theme of your data collecting.
- Add tables, establish links between tables, and specify field types for each table to personalize your base.
Define necessary fields in Airtable base
You must create the appropriate fields in your Airtable base in order to effectively link Airtable with Mailchimp:
- Open the table where the data for integration will be kept.
- To include new fields in the table, select the “+” button.
- Based on the data you wish to keep, select the relevant field types (such as text, email, phone, checkbox, etc.).
- Create field names that relate to the corresponding Mailchimp data.
- If necessary, configure any extra field settings, such as required fields or field validations.
Setting Up Mailchimp Integration
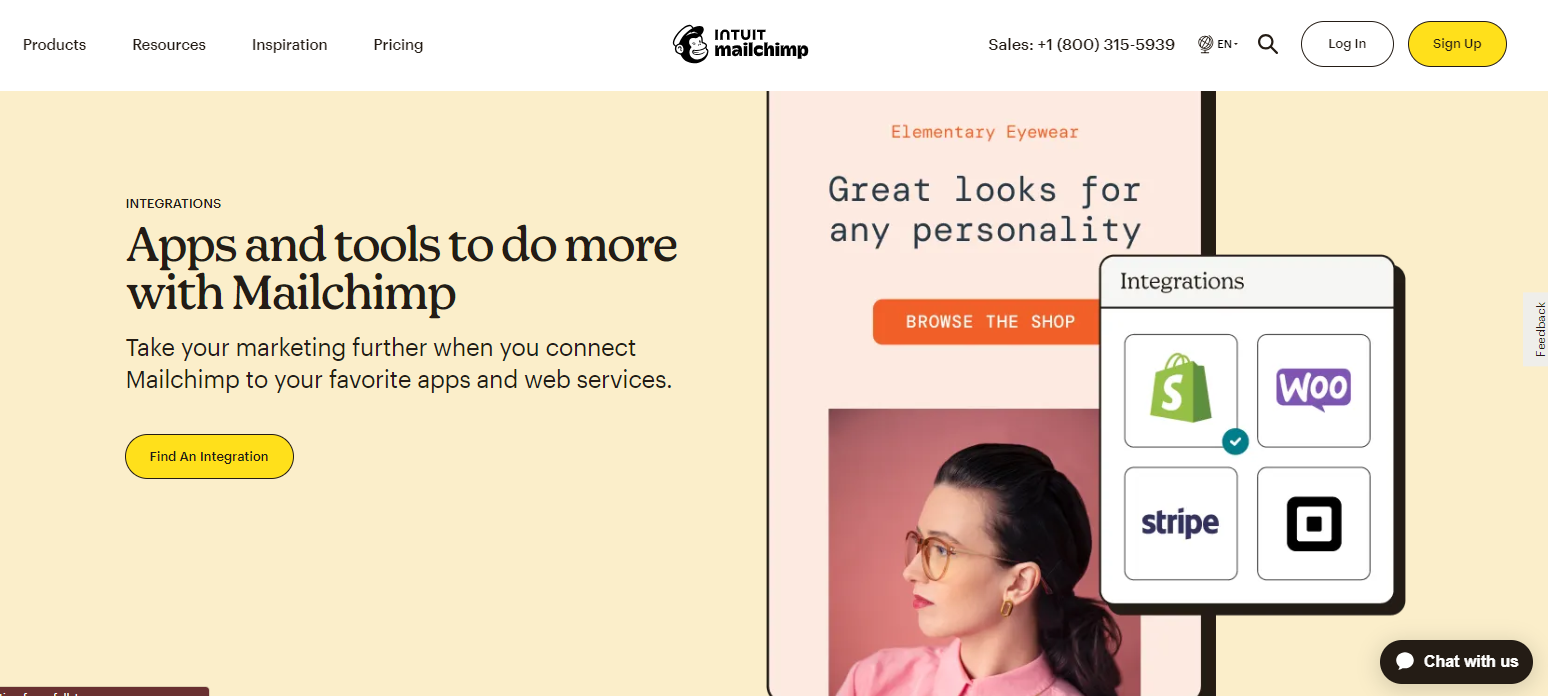
Setting up Mailchimp connectivity is crucial for integrating your email marketing activities with your Airtable data in a seamless manner. You can use your Airtable data for targeted email marketing by setting up Mailchimp connection, which we’ll walk you through in this section. You will discover how to set up an account with Mailchimp, link Airtable to Mailchimp using third-party integration tools, and authenticate both services inside the integration tool. By following these procedures, you may manage your subscribers and send targeted email marketing content while ensuring a smooth data transfer between Airtable and Mailchimp. Let’s get started with setting up the Mailchimp integration.
Create a Mailchimp account
You must have a Mailchimp account in order to integrate Airtable with it. To register, adhere to following steps:
- Click “Sign Up Free” or a comparable button on the Mailchimp website (https://mailchimp.com).
- Enter the necessary data, including your email address, username, and password.
- Follow the instructions and confirm your email address to finish the registration process.
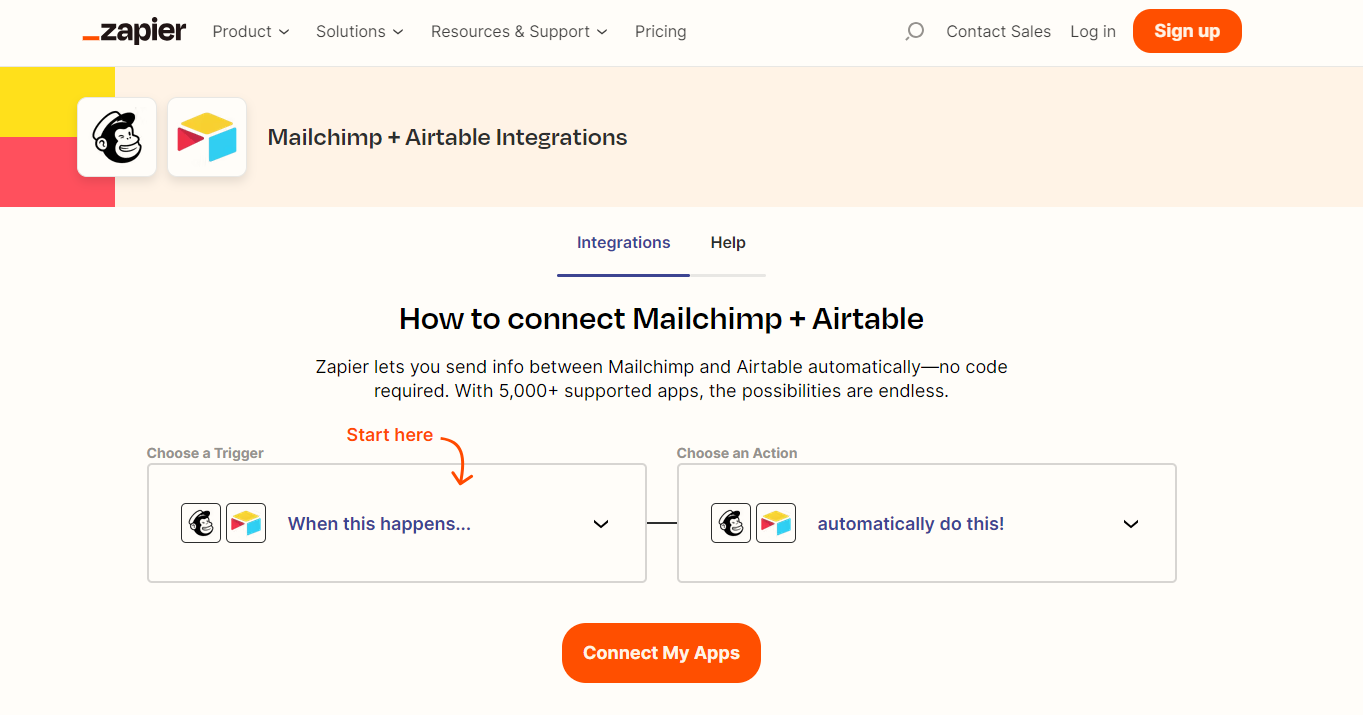
Connect Airtable with Mailchimp using third-party integration tools

Several third-party integration solutions can be used to set up the integration between Mailchimp and Airtable. Here’s what to do next:
- Investigate Your Integration Options: Look into the various platforms that allow you to integrate Airtable and Mailchimp, such as Zapier, Automate.io, Integromat, and others. Examine their features, cost, and usability.
- Choose the Integration Tool You Want: After selecting the integration tool that best meets your requirements, go to its website and create an account. Follow the registration instructions and fill out any relevant fields.
Authenticate Airtable and Mailchimp within the integration tool
You must authenticate both Airtable and Mailchimp within the tool’s UI after signing up for the integration tool:
- Use your login information to access the integration tool.
- Find the Airtable and Mailchimp apps or connectors on the dashboard of the integration tool.
- To link your Airtable account with the integration tool, follow the on-screen instructions. Typically, this entails allowing the tool access to your Airtable data.
- In a similar manner, link your Mailchimp account to the integration tool by entering the required information or giving the tool permission to access your Mailchimp account.
- After the authentication procedure is finished, the integration tool will connect Mailchimp and Airtable, enabling you to set up the integration settings.
Mapping Airtable Fields to Mailchimp Audience
A critical step in ensuring that the data from Airtable is accurately uploaded and synchronized with the right fields in Mailchimp is mapping Airtable fields to your Mailchimp audience. We’ll walk you through the process of connecting Airtable fields to your Mailchimp audience in this section. In this tutorial, you’ll discover how to choose the Airtable base and table you want to integrate with Mailchimp, map the fields in Airtable to the appropriate fields in your Mailchimp audience, and set up field mappings for any custom fields or other unique needs you might have. By using this mapping procedure, data can be transferred between Airtable and Mailchimp without any interruption, preserving the accuracy and organization of your audience’s information. Let’s look at how to connect your Mailchimp audience to the fields in Airtable.
Select the Airtable base and table to integrate with Mailchimp
Follow these steps to start connecting Airtable fields to your Mailchimp audience:
- Launch the dashboard of the integration tool you selected to connect Mailchimp and Airtable.
- The Airtable base and table that hold the data you wish to sync with Mailchimp should be located and chosen.
- Check to see that the base and table you’ve chosen have the pertinent data you want to include in your Mailchimp audience.
Map the fields in Airtable to the corresponding fields in the Mailchimp audience
The data from Airtable is accurately transferred to the corresponding fields in your Mailchimp audience thanks to the field mapping. Here is how to go about it:
- Go to the field mapping portion of the integration tool’s user interface.
- You will see a list of the Mailchimp audience fields that correlate to the Airtable data.
- Based on the data type and use of the Mailchimp fields, match the appropriate Airtable fields with those fields. Map the Airtable “Name” field to the Mailchimp “First Name” field, for instance.
- For every field you want to sync, follow these steps again.
Set up field mappings for custom fields or specific requirements
Follow these extra steps if you need to map custom fields or unique needs between Airtable and Mailchimp:
- Determine whatever Airtable custom fields you wish to connect with Mailchimp.
- Look for possibilities to build custom field mappings in the integration tool’s field mapping section.
- Choose the Mailchimp field that matches the data type and purpose, then specify the custom field in Airtable.
- Set up any additional custom fields mapping choices or settings, such as default values or formatting.
Automating Data Sync between Airtable and Mailchimp

The procedure can be streamlined and kept current on both systems by automating data sync between Airtable and Mailchimp. We will talk about automating the data synchronization between Airtable and Mailchimp in this part. You will learn how to set up triggers and actions in the integration tool to start the sync depending on particular Airtable events or modifications, such as adding a new entry or editing an old one. We’ll also go through how to set up filters or conditions so that only the data that satisfies certain requirements is synced. You may save time, save human work, and keep consistent data between Airtable and Mailchimp by automating the data sync. Let’s examine how to automate data synchronization between Mailchimp and Airtable.
Set up triggers and actions in the integration tool
You must set up triggers and actions in the integration tool in order to automate data synchronization between Mailchimp and Airtable. Take these actions:
- Create triggers in Airtable by choosing the events you want to serve as the triggers for data synchronization. You can decide to have a sync start whenever a new record is added to Airtable or when an old record is changed, for instance.
- Determine Corresponding Actions in Mailchimp: Using the triggers, ascertain the actions that should be taken in Mailchimp. For instance, you can decide whether to update subscriber information when a record is modified in Airtable or add a subscriber to a Mailchimp list when a new record is created.
Configure any filters or conditions for data synchronization
Applying filters or conditions based on particular criteria will help you further hone the data synchronization process. Take these actions:
- Establish Data Sync Criteria: List the requirements that must be satisfied for data to sync between Airtable and Mailchimp. For instance, you could only want to sync records with a given value in a particular field or records with a certain date requirement.
- Use the filtering or conditional tools offered by the integration tool to apply filters or conditions to establish the requirements for data synchronization. This makes sure that only pertinent information that satisfies the criteria set forth is sent between Airtable and Mailchimp.
Testing and Troubleshooting

For the integration between Airtable and Mailchimp to run smoothly and accurately, testing and debugging are crucial tasks. We will walk you through the process of testing and troubleshooting your integration in this part. To validate the data transfer, confirm that the data is correctly synchronized across the platforms, and address any problems or mistakes that may surface during testing, you will learn how to conduct a test sync between Airtable and Mailchimp. You can find and fix any problems early on by thoroughly testing and troubleshooting your integration, ensuring that your data remains accurate and your integration runs without a hitch. Let’s get started testing and troubleshooting your integration between Airtable and Mailchimp.
Perform a test sync between Airtable and Mailchimp
It is essential to carry out a test sync before actually deploying the integration to make sure everything is working as it should. Take these actions:
- To integrate Mailchimp and Airtable, go to the UI of the integration tool.
- By causing the requested event in Airtable (such as adding a new record or modifying an existing record), you can start a test sync.
- Check the logs or activity dashboard of the integration tool to ensure that the sync process has been triggered and started.
Verify that the data is correctly transferred between the platforms
It is crucial to verify that the data is accurately transported between Airtable and Mailchimp after running the test sync. Take these actions:
- Enter your Mailchimp account credentials to access the relevant audience or list.
- To confirm that the anticipated data from Airtable has been successfully synchronized, check the subscriber or contact records.
- Make sure the mapped fields from Airtable are in line with the data fields in Mailchimp.
- Look for any discrepancies or missing data that can point to integration problems.
Address any issues or errors encountered during testing
It is critical to address any problems or faults as soon as they arise during testing. To troubleshoot, adhere to the following steps:
- To pinpoint the precise problem or error encountered, look over the integration tool’s logs or error messages.
- Make sure the field mappings, triggers, actions, and filters are configured properly.
- Check that inside the integration tool, Airtable, and Mailchimp have the required permissions and authorizations.
- Make that the information is accurately formatted and fits the necessary field types in Mailchimp and Airtable.
- If necessary, refer to the integration tool’s manual or support materials, or get in touch with their support staff to get help fixing the problem.
Best Practices for Airtable and Mailchimp Integration
You may strengthen your email marketing efforts, optimize your integration, and increase data accuracy by following these best practices. Let’s examine the ideal methods for combining Mailchimp and Airtable.
Keep data consistency and integrity across platforms
For Airtable and Mailchimp to successfully integrate, data consistency and integrity must be maintained. Observe these recommended methods:
- By frequently reviewing and updating records, you can guarantee that the data in Airtable and Mailchimp is correct and up to date.
- Create Airtable data validation rules to reduce errors and inconsistent data.
- Implement sound data hygiene procedures in Mailchimp, such as routine audience segmentation and cleansing.
Regularly review and update field mappings as needed
The way that data is exchanged between Airtable and Mailchimp is determined by field mappings. Field mappings must be periodically reviewed and updated as necessary:
- Examine your integration configuration on a regular basis to see if any new fields need to be mapped or if any existing mappings need to be adjusted.
- Keep an eye out for any adjustments that may be necessary to the field mappings due to changes in your Airtable or Mailchimp data structure.
- To keep your integration tool or third-party service current with the most recent field mappings, communicate any changes to them.
Monitor and resolve any syncing errors or discrepancies
To guarantee seamless synchronization between Airtable and Mailchimp, ongoing monitoring is essential. Adhere to these guidelines:
- Check the activity dashboard or logs of the integration tool frequently for any syncing issues or inconsistencies.
- Maintain data accuracy and prevent interruptions in your email marketing campaigns by looking into and fixing any problems as soon as they arise.
- Create automated warnings or notifications to proactively find and fix any syncing issues.
Ensure compliance with data privacy and consent regulations

Integrating Airtable and Mailchimp requires adherence to laws governing data protection and permission. Think about the following:
- Follow relevant data protection laws, such as the California Consumer Privacy Act (CCPA) or the General Data Protection Regulation (GDPR).
- Before including someone in your Mailchimp audience or sending them email marketing campaigns, be sure you have their express approval.
- Implement systems to efficiently handle requests to opt out and unsubscribe.
Conclusion

Integrating Airtable with MailChimp can revolutionize your business’s workflow and marketing efforts. By leveraging the power of these two platforms, you can streamline your data management and automate your email marketing campaigns, resulting in improved efficiency and increased customer engagement. To take full advantage of this integration and propel your business to new heights, we highly recommend partnering with Ubique Digital Solutions. With their expertise in software integration and digital solutions, they can provide you with the guidance and support you need to implement this integration seamlessly. Don’t miss out on the opportunity to boost your business to success. Contact Ubique Digital Solutions today and embark on a journey toward enhanced productivity and growth.
FAQs:
Q: Is Airtable compatible with all Mailchimp versions?
Both the free and paid versions of Mailchimp are compatible with the Airtable integration with Mailchimp.
Q: How frequently do the data syncs between Mailchimp and Airtable take place?
The options and preferences you specify within the integration tool will determine how frequently the data is synced. You have the option to sync data instantly, periodically, or in response to certain occurrences.
Q: Can I segment my Mailchimp audience using Airtable?
While Airtable can be utilized to manage and organize your data, Mailchimp’s platform has more sophisticated segmentation tools. The synced data from Airtable can be used to build precise Mailchimp segments.
Q: Can I use Mailchimp to send automated emails based on data from Airtable?
Yes, you can use Mailchimp’s automation features to send targeted and automated emails depending on particular triggers or circumstances once the data has been synchronized between Airtable and Mailchimp.
Q: What occurs when I modify or remove a record in Airtable? Will Mailchimp be impacted?
Depending on the mapping and sync settings, whether you edit or delete a record in Airtable, the associated data in Mailchimp will also be changed or erased. To prevent unforeseen repercussions, data updates must be handled carefully.
")

")


