Build a Shopify Website
In today’s digital age, having an online presence is crucial for businesses of all sizes. Whether a small startup or an established brand, a well-crafted website can significantly impact your success; in this guide, we will walk you through the ten simple steps to build a Shopify website, a platform known for its user-friendliness and powerful e-commerce features. By the end of this tutorial, you’ll have the knowledge and confidence to establish your online store.
Simple Steps to Build a Shopify Website
Are you ready to establish your online presence and sell products or services? Building a Shopify website is a wise choice. Shopify is a user-friendly e-commerce platform that offers powerful features to help you create a professional and functional online store. Follow these ten simple steps to build your Shopify website:
Step 1: Research and Planning
Why It’s Important:
Before you dive into website creation, it’s crucial to understand your target audience, niche, and business goals. This research will guide your decisions throughout the process.
What to Do:
- Identify your target audience and create buyer personas.
- Research your competitors and industry trends.
- Set clear and measurable goals for your Shopify website.
Step 2: Sign Up for Shopify
Why it’s important:
Signing up for Shopify is the first practical step in building your online store. It provides you with the platform to create and manage your e-commerce site.
What to do:
- Visit Shopify’s website (www.shopify.com).
- Click “Get Started” and follow the prompts to create your account.
- Choose the appropriate pricing plan for your business.
Step 3: Choose a Domain Name
Why it’s important:
Your domain name is your online address. Choosing a domain name that is memorable, relevant to your brand, and easy to spell is crucial.
What to do:
- Consider domain name options that reflect your brand.
- Use Shopify to either purchase a new domain or connect an existing one.
- For added security, consider securing your domain with a cheap SSL Certificate.
Step 4: Select a Theme
Why it’s important:
The theme you choose defines your website’s look and feel. It affects user experience and brand perception.
What to do:
- Access the Shopify Theme Store from your dashboard.
- Browse and select a theme that suits your brand and business.
- Customise the theme to align with your brand’s colours, fonts, and layout preferences.
Step 5: Customise Your Theme
Why it’s important:
Customising your theme allows you to create a unique online store that reflects your brand identity and meets your needs.
What to do:
- Use the Shopify Theme Editor to adjust your design, layout, and functionality.
- Ensure your branding elements, such as logos and colour schemes, are consistent.
Step 6: Add Products
Why it’s important:
Your online store’s success depends on the quality and presentation of your products. It’s time to add them to your Shopify website.
What to do:
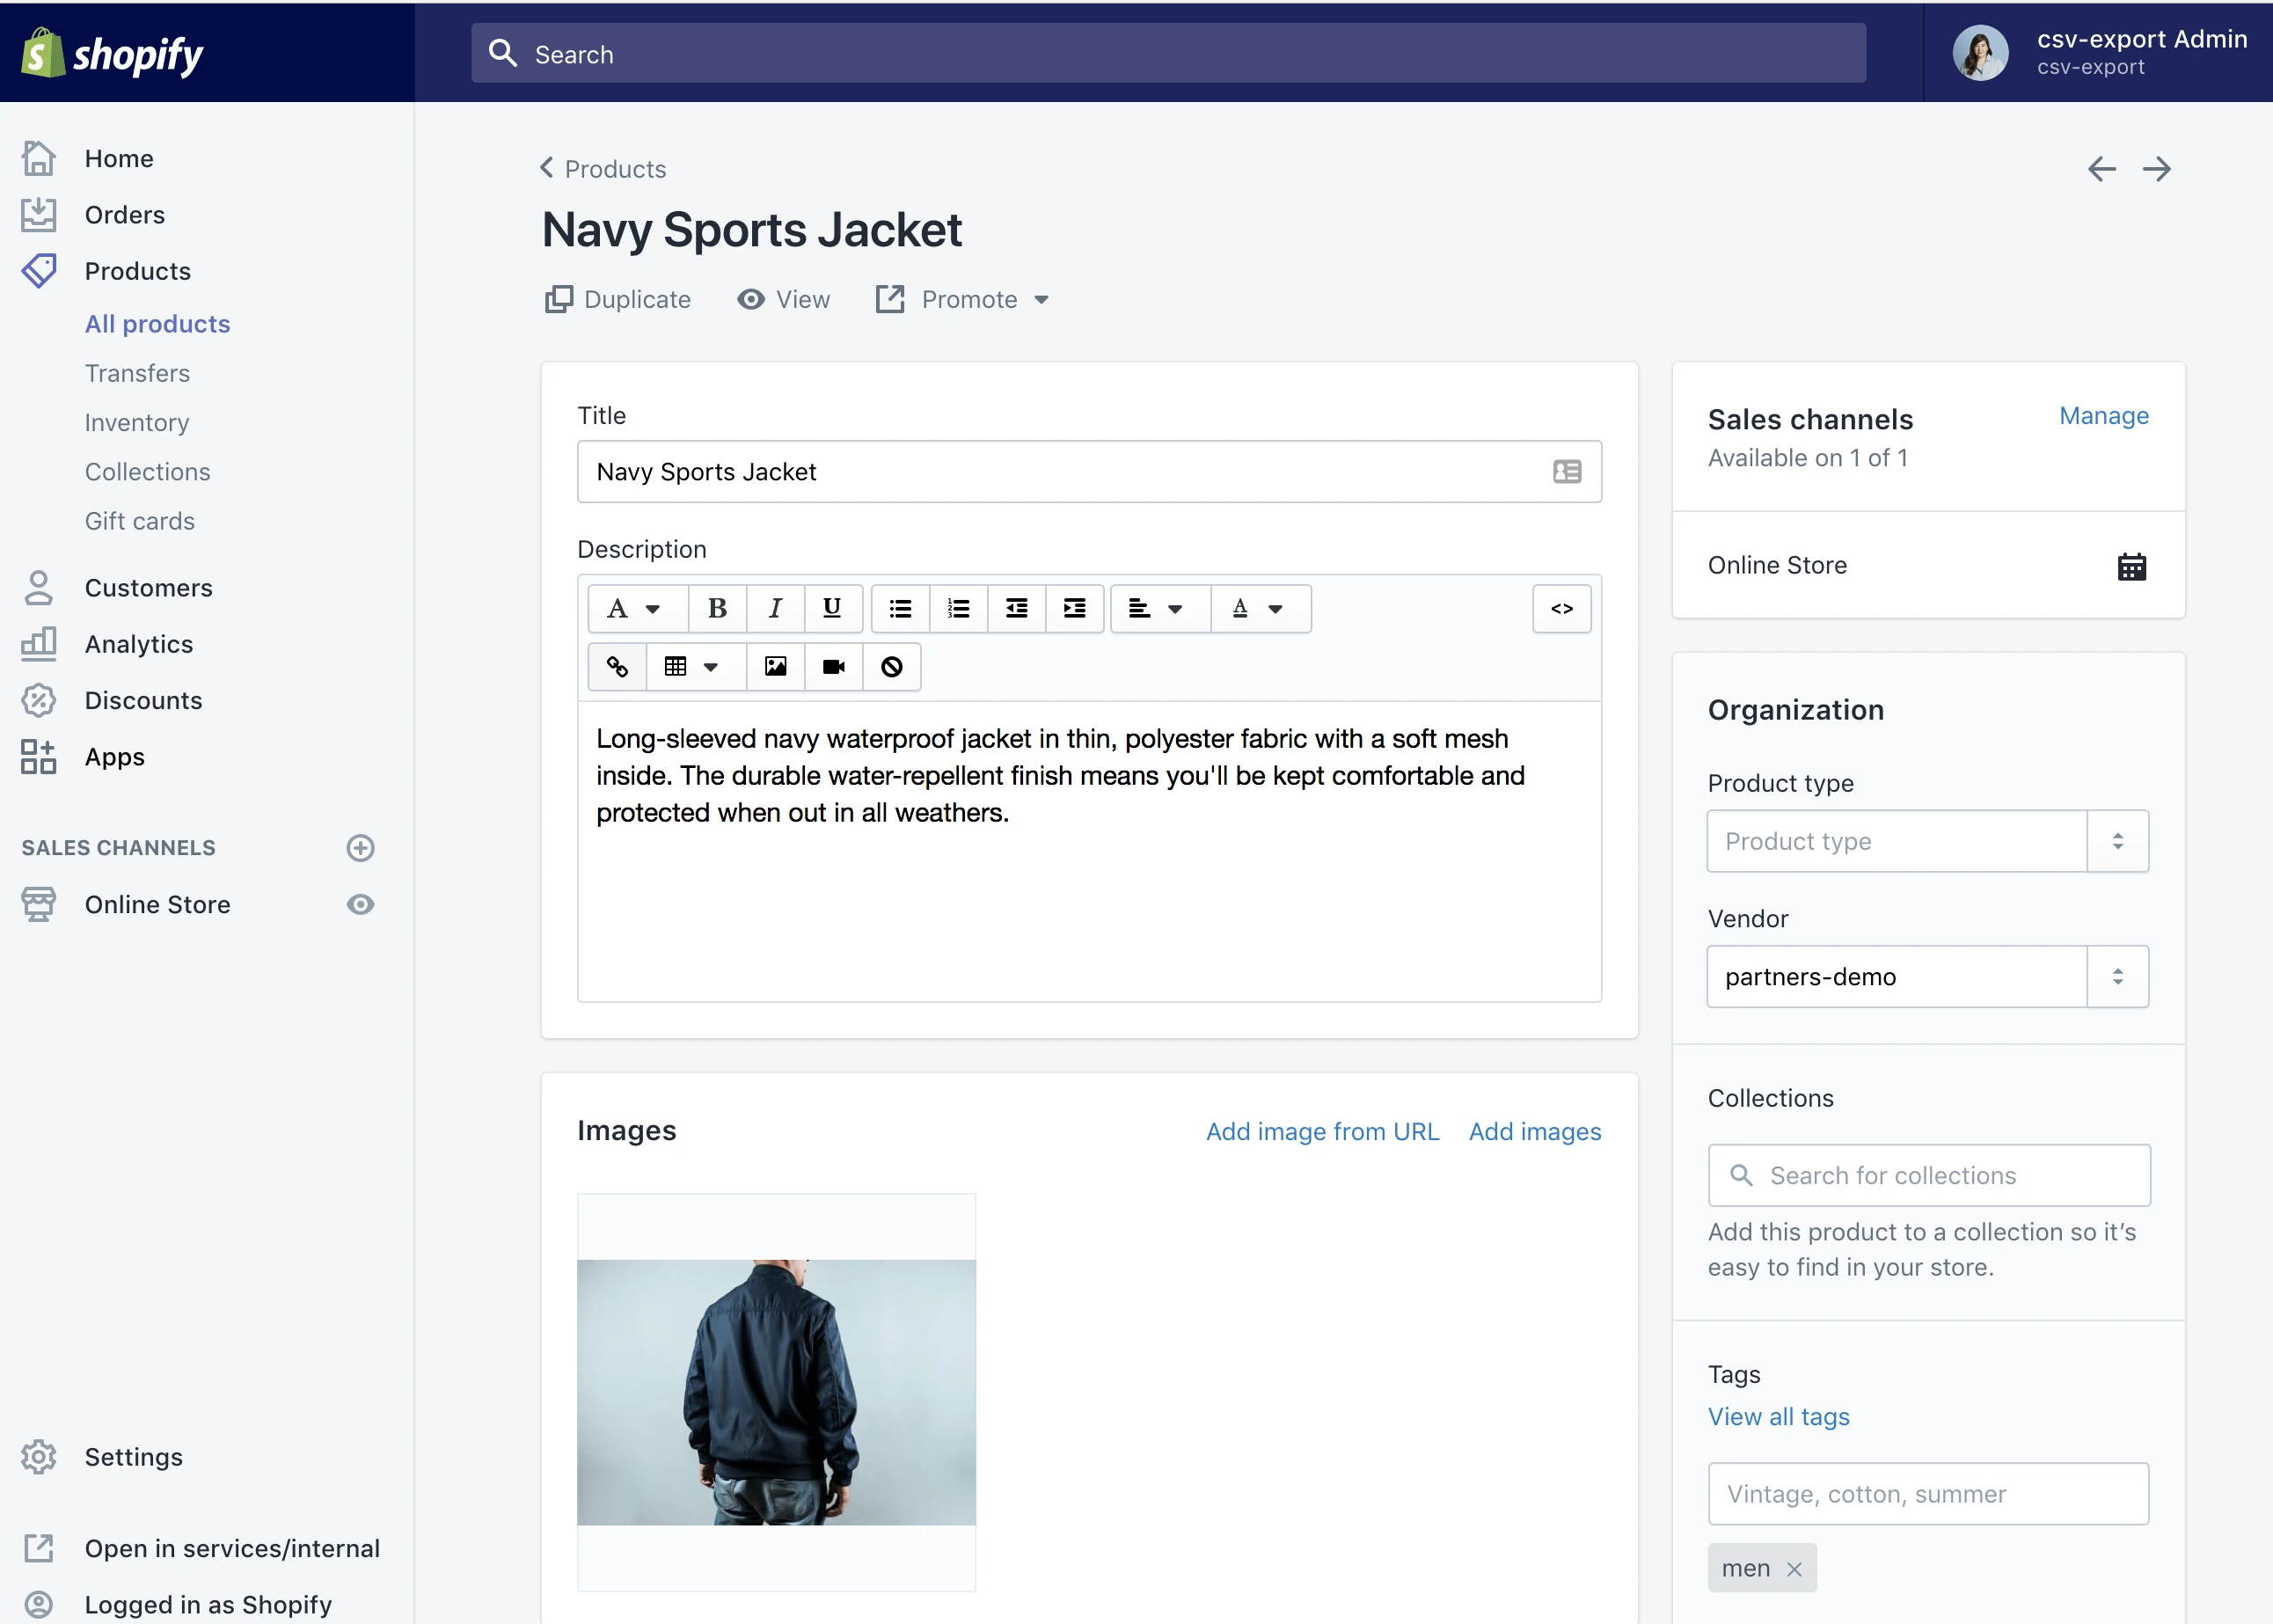
- Navigate to the “Products” section in your Shopify dashboard.
- Add detailed product listings, including titles, descriptions, prices, and high-quality images.
- Organise your products into categories or collections.
Step 7: Set Up Payment and Shipping
Why it’s important:
Configuring payment gateways and shipping options ensures smooth and secure customer transactions.
What to do:
- Configure payment gateways such as Shopify Payments or other preferred methods.
- Set up shipping zones, rates, and methods based on your products and target locations.
Step 8: Configure Taxes and Legal Pages
Why it’s important:
Compliance with tax regulations and the inclusion of essential legal pages are crucial for the legitimacy and trustworthiness of your online store.
What to do:
- Understand your tax obligations and set up tax rates accordingly.
- Create essential legal pages, including a privacy policy and terms of service, to protect you and your customers.
Step 9: Test Your Website
Why it’s important:
Before launching your Shopify website, thorough testing ensures everything works as intended, providing a positive user experience.
What to do:
- Test the functionality of your website, including navigation and forms.
- Ensure your site is mobile-responsive and works across different browsers.
- Fix any issues or bugs that arise during testing.
Step 10: Launch Your Shopify Website
Why it’s important:
Congratulations! Your website is ready to go live. It’s time to make it accessible to the public.
What to do:
- Click “Publish” or “Make your store live” in your Shopify dashboard.
- Post-launch, focus on marketing, search engine optimization (SEO), and ongoing website maintenance.
Work with Us
To truly maximize your success, consider partnering with Ubique Digital Solutions. Our team of experts specializes in e-commerce growth strategies, digital marketing, and website optimization. Whether you’re just starting or looking to take your existing business to the next level, we’re here to help you achieve your goals. Take the next step and partner with Ubique Digital Solutions today. Together, we’ll propel your business towards unparalleled success in the digital realm. Ready to get started? Contact us now, and let’s bring your e-commerce dreams to life.
FAQs
Q: How Do I Add Products to My Shopify Store?
Go to the ‘Products’ section in your Shopify admin, click ‘Add product’, and fill in details like name, description, price, and images.
Q: What Payment Methods Can I Set Up on Shopify?
Shopify supports various payment gateways, including Shopify Payments and credit/debit card options.
Q: How Do I Set Shipping Rates on My Shopify Store?
In your Shopify admin, navigate to ‘Settings’, then ‘Shipping and Delivery’ to set up shipping rates and options.


