
Integrating Sendinblue and Elementor Forms
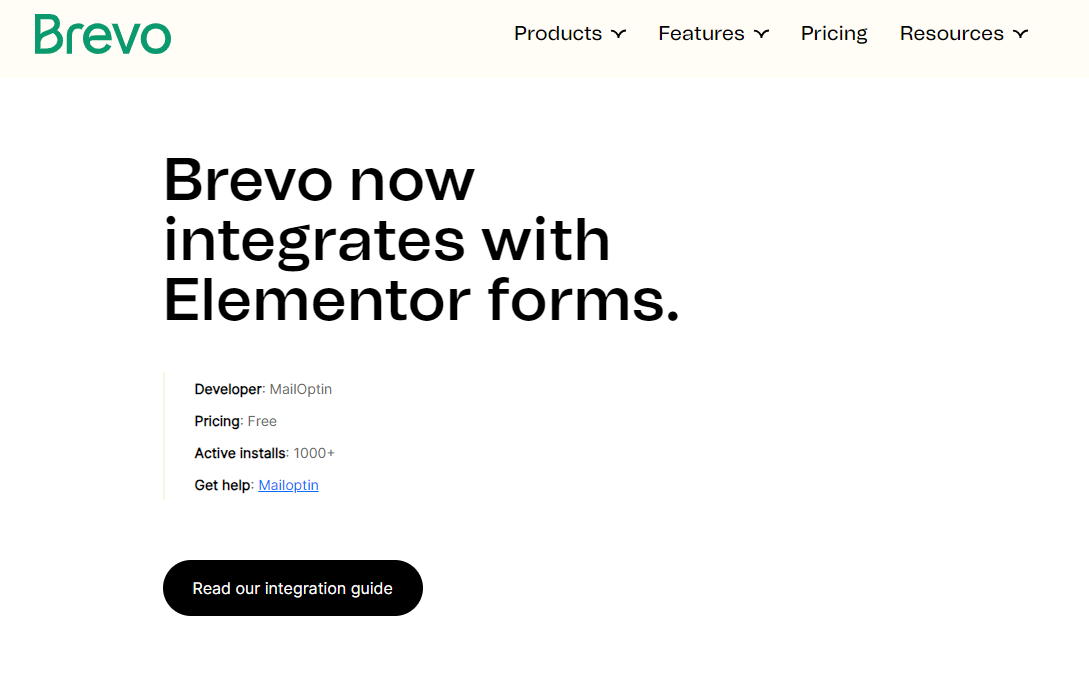
Brevo (formerly known as Sendinblue) is a powerful email marketing and automation platform that allows businesses to create, send, and track their email campaigns. It provides a wide range of features, including contact management, email design, automation workflows, and more.
Elementor Forms, on the other hand, is a popular form builder plugin for WordPress that enables users to create custom forms with ease. It offers a user-friendly drag-and-drop interface and various form field options.
Integrating Brevo (Sendinblue) with Elementor Forms can greatly enhance your email marketing efforts. By connecting these two platforms, you can seamlessly capture user data through your Elementor forms and sync it with Brevo (Sendinblue). This integration streamlines your lead generation process and enables you to automate personalized email campaigns based on the captured information.
Setting up Brevo (Sendinblue) and Elementor Forms
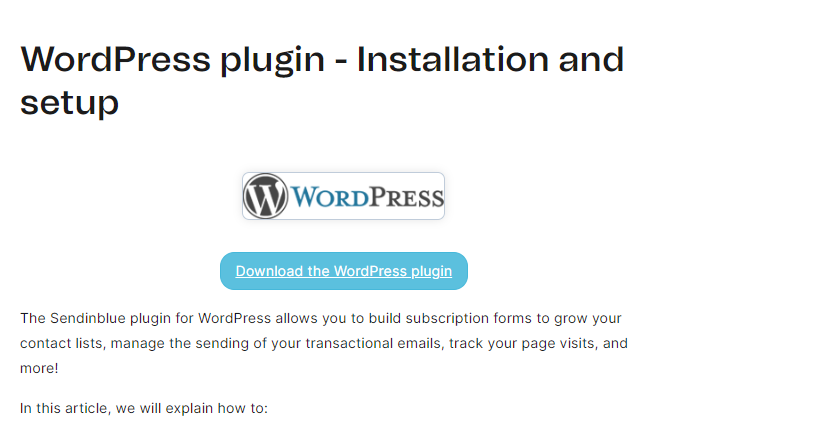
Step 1: Install and activate the Brevo (Sendinblue) plugin
To begin, you need to install the Brevo (Sendinblue) plugin on your WordPress website. Here are the steps:
- Log into your WordPress dashboard.
- Navigate to “Plugins” and click on “Add New.”
- Search for “Brevo” or “Sendinblue” in the plugin search bar.
- Find the “Brevo – Email Marketing & Automation” plugin and click on “Install Now.”
- After installation, click on “Activate” to activate the plugin.

Step 2: Connect Brevo (Sendinblue) with your Sendinblue account
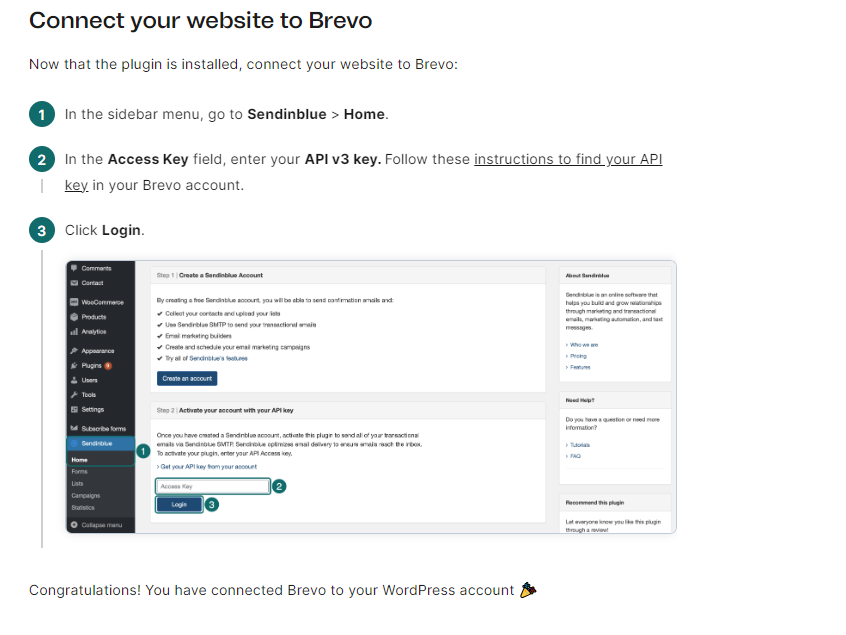
Once you have activated the Brevo (Sendinblue) plugin, you need to connect it to your Sendinblue account.
Follow these steps:
- In your WordPress dashboard, go to “Brevo” in the left-hand menu.
- Click on “Settings.”
- Click on “Connect Your Account.”
You will be redirected to the Sendinblue login page. Enter your Sendinblue account credentials and click “Login.”
Grant permission to the Brevo plugin to access your Sendinblue account.
Once authorized, you will be redirected back to your WordPress dashboard, and the connection between Brevo and Sendinblue will be established.
Step 3: Create and customize a form using Elementor Forms
Now that you have Brevo (Sendinblue) set up, it’s time to create a form using Elementor Forms and customize it to collect the desired information. Here’s how:
- In your WordPress dashboard, go to “Pages” or “Posts” and select the page or post where you want to add the form.
- Click on “Edit with Elementor” to open the Elementor editor.
- Drag and drop the “Form” widget from the Elementor panel to the desired section of your page.
- Customize the form fields by adding, removing, or rearranging them according to your requirements.
- Configure the form settings, such as the email recipient, success message, and error messages.
- Save your changes.
Configuring Brevo (Sendinblue) Settings in Elementor

Step 1: Access the Elementor editor for your form
To configure Brevo (Sendinblue) settings in Elementor, you need to access the form settings in the Elementor editor. Here’s how:
- Go to the page or post where you added the form using Elementor.
- Click on “Edit with Elementor” to open the Elementor editor.
- Select the form widget you added, and its settings panel will appear on the left-hand side of the editor.
Step 2: Enable Brevo (Sendinblue) integration in Elementor
To enable the integration between Elementor Forms and Brevo (Sendinblue), follow these steps:
- In the Elementor form widget settings panel, click on the “Actions After Submit” tab.
- Click on the “Add Action” button.
- From the available actions list, select “Brevo.”
- A new Brevo (Sendinblue) action panel will appear.
- Click on the “Connect Account” button to authorize Elementor to connect with your Brevo (Sendinblue) account.
Follow the prompts to authorize the connection. Once connected, you can configure various settings such as selecting the desired list, setting up tags, and enabling double opt-in.
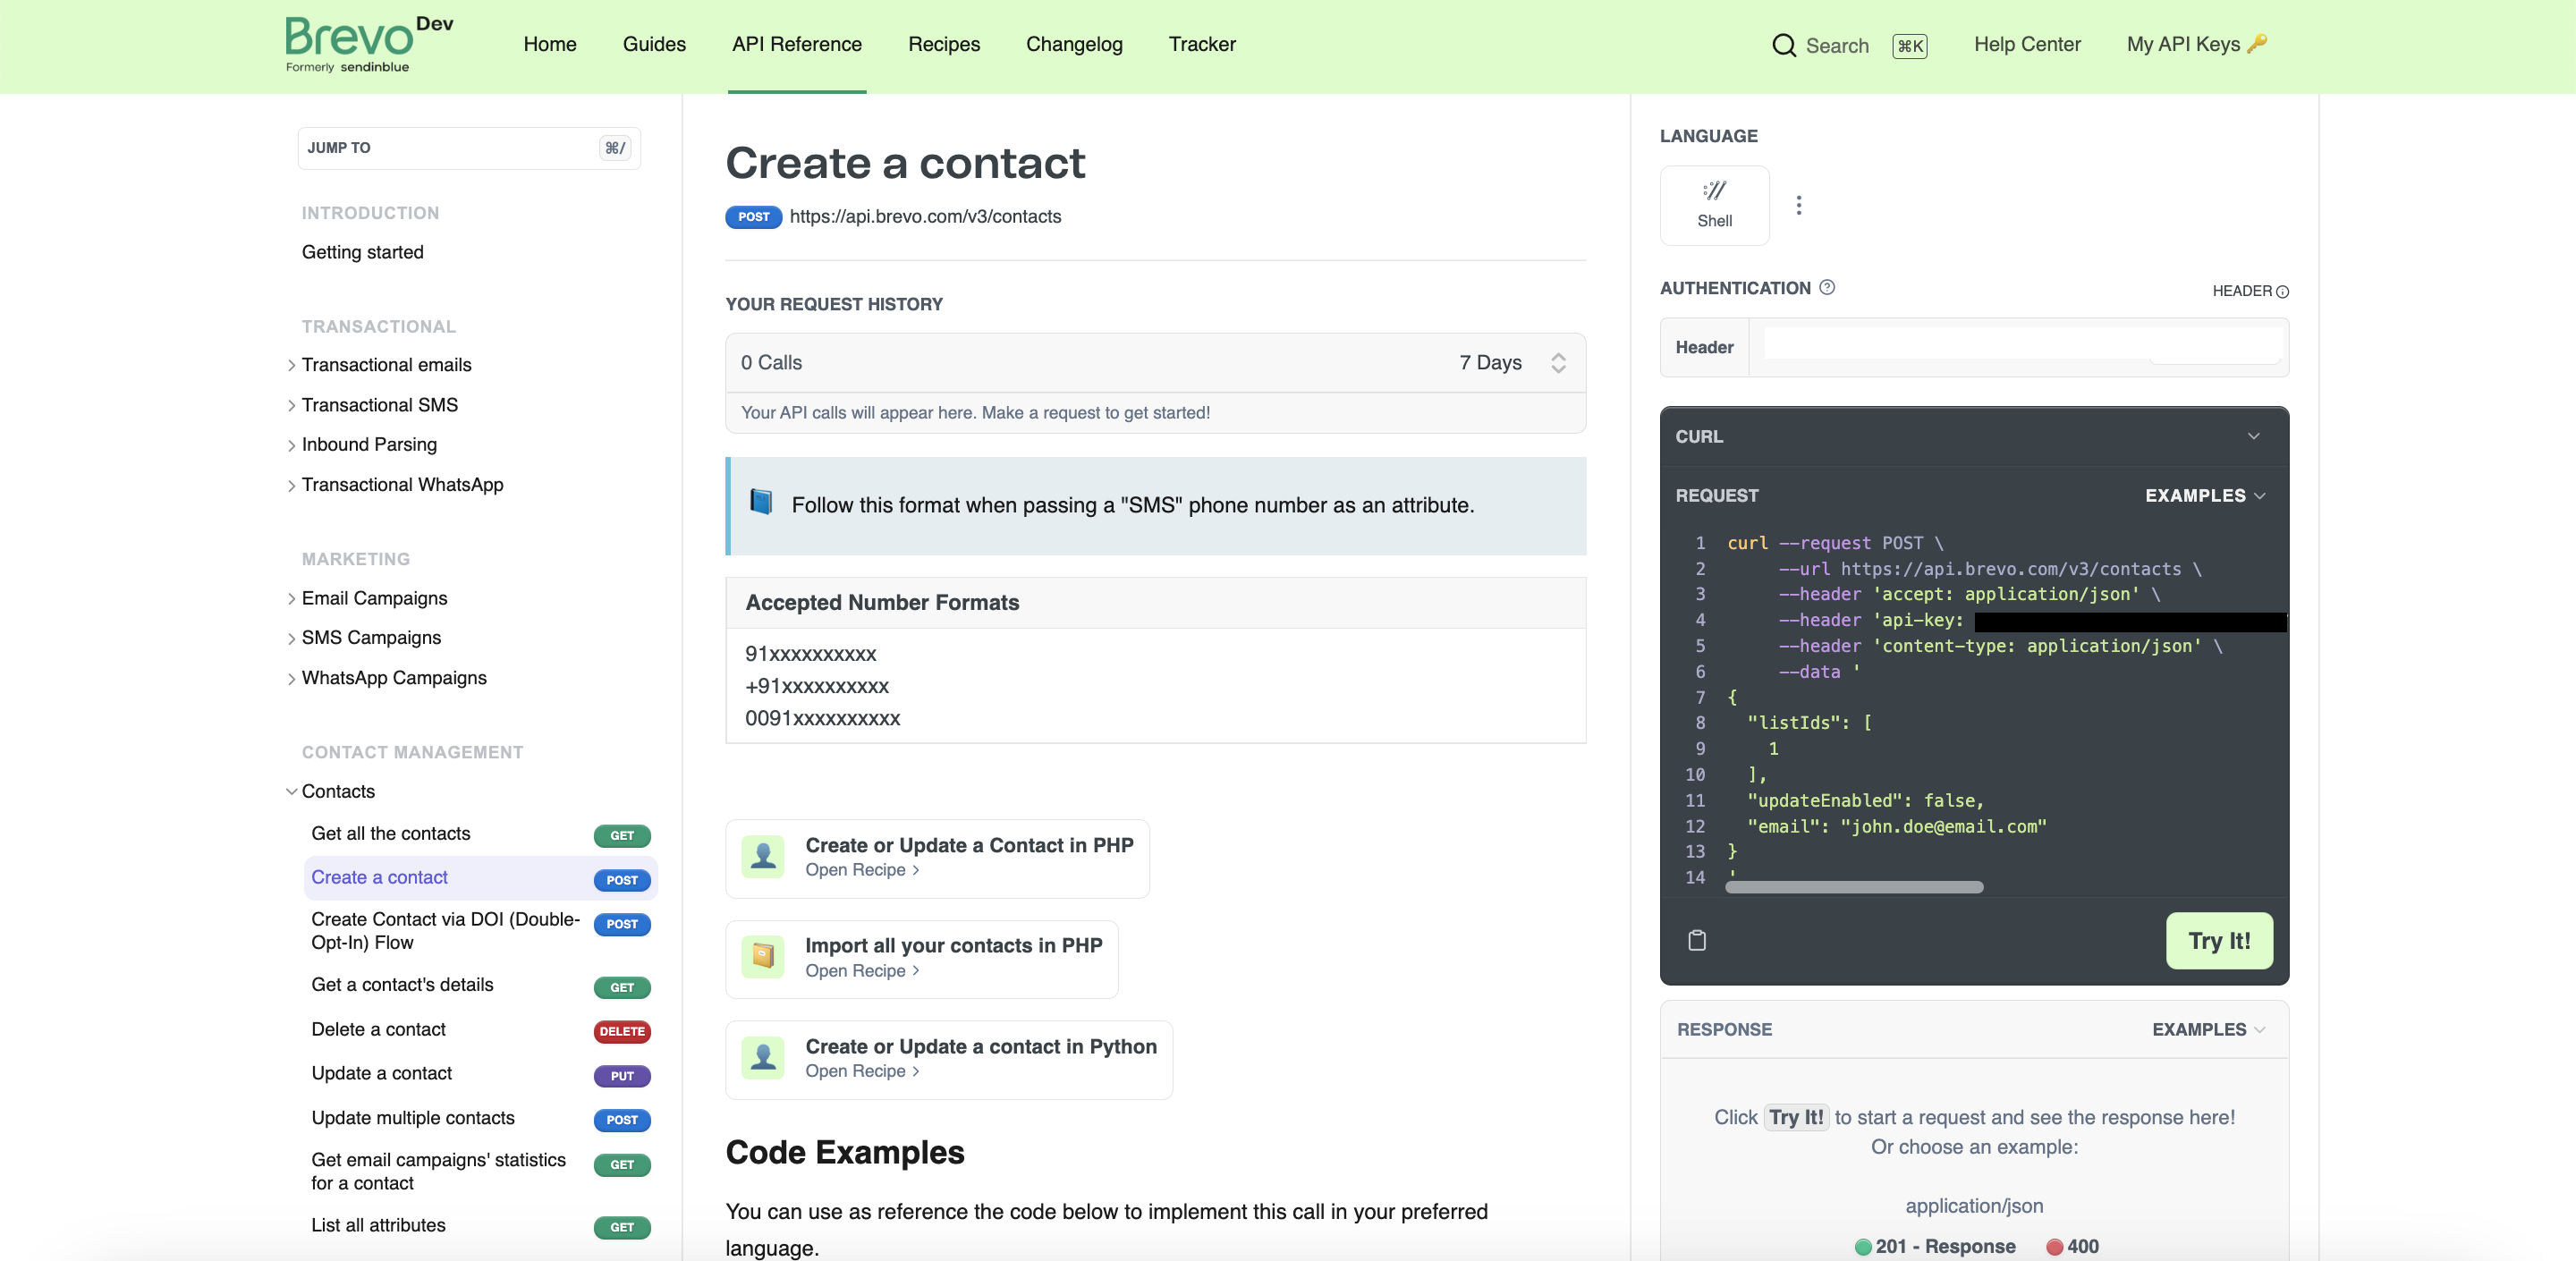
Step 3: Map the form fields with the corresponding Brevo (Sendinblue) fields
To ensure that the data captured through your Elementor form is correctly mapped to the corresponding fields in Brevo (Sendinblue), follow these steps:
- In the Elementor form widget settings panel, click on the “Actions After Submit” tab.
- Under the Brevo (Sendinblue) action panel, click on the “Add Field Mapping” button.
- A list of form fields and corresponding Brevo (Sendinblue) fields will appear.
- Map each form field with the appropriate Brevo (Sendinblue) field.
- You can also map additional fields, such as custom fields, by clicking on the “Add Field Mapping” button again.
- Save your changes.
Testing and Troubleshooting the Integration
Step 1: Test the form submission and data transfer to Brevo (Sendinblue)
After configuring the integration, it’s essential to test the form submission and ensure that the data is correctly transferred to Brevo (Sendinblue). Here’s how to do it:
- Open the published page or post containing the Elementor form.
- Fill in the form with sample data and submit it.
- Verify that you receive a success message indicating that the form submission was successful.
- Log in to your Brevo (Sendinblue) account and navigate to the appropriate list or contact view.
- Check if the submitted data is visible in Brevo (Sendinblue).
Step 2: Troubleshooting common integration issues
If you encounter any issues during the testing phase, here are a few troubleshooting steps you can follow:
- Ensure that you have properly connected your Brevo (Sendinblue) account with Elementor.
- Verify that the form fields in Elementor are correctly mapped to the corresponding fields in Brevo (Sendinblue).
- Check if there are any error messages or notifications in the Elementor or Brevo (Sendinblue) settings panels.
- Review the documentation and support resources provided by both Elementor and Brevo (Sendinblue) to troubleshoot specific issues.
- If the issue persists, reach out to the support teams of Elementor and Brevo (Sendinblue) for further assistance.
Advanced features and customization options
A. Utilizing custom fields in Brevo (Sendinblue) with Elementor Forms
Brevo (Sendinblue) allows you to create custom fields to collect additional information from your form submissions. Here’s how to use custom fields with Elementor Forms:
- In your Brevo (Sendinblue) account, navigate to the appropriate list or contact view.
- Create the custom fields you want to include in your form submissions.
- In Elementor, access the form widget settings panel and go to the “Actions After Submit” tab.
- Under the Brevo (Sendinblue) action panel, click on the “Add Field Mapping” button.
- From the list of available form fields, select “Custom Field.”
- Enter the custom field name and map it to the corresponding Brevo (Sendinblue) custom field.
- Save your changes.
B. Setting up conditional logic for form submissions
Elementor Forms provide conditional logic functionality, allowing you to show or hide certain form fields based on user selections. To set up conditional logic in Elementor Forms, follow these steps:
- In the Elementor form widget settings panel, click on the “Field Options” tab.
- Select the form field for which you want to apply conditional logic.
- Under the field settings, enable the “Conditional Logic” option.
- Configure the conditions based on user selections and define the corresponding actions (show/hide) for other form fields.
- Save your changes.
C. Implementing automation workflows with Brevo (Sendinblue)
Brevo (Sendinblue) offers automation workflows that allow you to automate email sequences and actions based on specific triggers. Here’s how to implement automation workflows with Brevo (Sendinblue) using Elementor Forms:
- In your Brevo (Sendinblue) account, navigate to the automation workflows section.
- Create a new automation workflow and define the trigger that will initiate the workflow (e.g., form submission).
- Configure the actions and email sequences you want to automate based on the trigger.
- Save and activate the automation workflow.
- In Elementor, go to the form widget settings panel and access the “Actions After Submit” tab.
- Add the Brevo (Sendinblue) action and select the appropriate automation workflow.
- Save your changes.
Conclusion

Integrating Brevo (Sendinblue) and Elementor Forms provides a powerful solution for optimizing your email marketing and lead generation efforts. By combining the capabilities of these two platforms, you can streamline your processes, automate campaigns, and deliver personalized communications to your audience. Take advantage of the various features and customization options available to maximize the effectiveness of your email marketing strategy.
To further enhance your digital marketing initiatives and propel your business to success, consider partnering with Ubique Digital Solutions. As experts in the field, Ubique Digital Solutions offers comprehensive digital marketing services, including email marketing, website development, and strategic planning. Their team of professionals can provide the expertise and support you need to take your business to the next level. Contact UDS today.
FAQs
Q: Can I integrate Brevo (Sendinblue) with the free version of Elementor?
Yes, you can integrate Brevo (Sendinblue) with the free version of Elementor. The integration is available for all Elementor users, regardless of their plan.
Q: Is it possible to use Brevo (Sendinblue) with other form plugins?
While Brevo (Sendinblue) provides integration with various form plugins, the specific compatibility may vary. It’s recommended to check the Brevo (Sendinblue) documentation or contact their support team to verify compatibility with a particular form plugin.
Q: What data is transferred from Elementor Forms to Brevo (Sendinblue)?
The data transferred from Elementor Forms to Brevo (Sendinblue) typically includes the form fields mapped during the integration setup. This can include standard fields like name and email, as well as any custom fields you have configured.
Q: How can I customize the appearance of the form using Elementor?
Elementor provides extensive customization options for form appearance. In the Elementor editor, you can modify the form’s styling, layout, colors, fonts, and more. Simply select the form widget and access the style settings to customize its appearance according to your branding and design preferences.
")

")


